TL;DR — Quick Summary
Tree transplant Vancouver practices that ensure survival: root pruning timelines, root ball standards, and post-transplant care from ISA-certified arborists.
TL;DR
- Transplanted trees lose 50–95% of their fine feeder roots during the move. Root pruning 6–12 months in advance is the single biggest factor in survival.
- The best transplant windows in Metro Vancouver are early fall (mid-September to October) and early spring (February to mid-March).
- ANSI A300 standards call for a minimum root ball diameter of 10–12 inches per inch of trunk caliper. Go smaller and the tree is already compromised.
- Post-transplant watering must be deep and infrequent. Shallow daily watering keeps roots near the surface — exactly where you don't want them.
- Trees over 15–20cm caliper are rarely viable transplant candidates. If yours is too large to move safely, removal and replanting a younger specimen is the smarter long-term call.
---
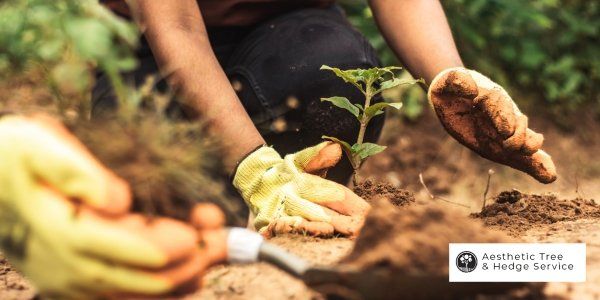
Tree transplant Vancouver practices ensure survival and growth — but only when the process starts months before the actual move.
Most transplants don't fail on moving day. They fail because of what wasn't done in the seasons before it.
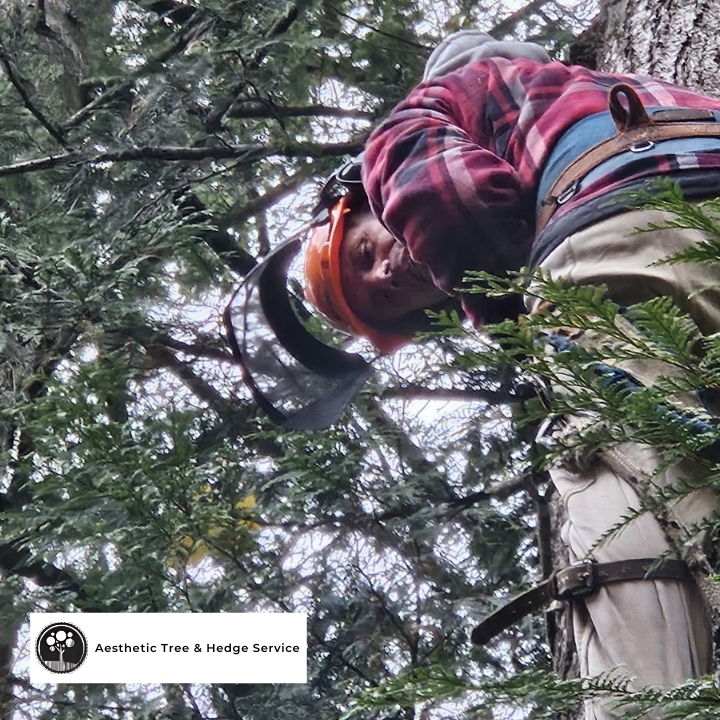
This guide covers what actually works. Our ISA-certified team has transplanted trees across Vancouver, Burnaby, North Vancouver, and Richmond. Here's the honest breakdown.
Why Do Most Tree Transplants in Vancouver Fail?
The root system is everything.
According to the International Society of Arboriculture (ISA), transplanted trees typically lose between 50% and 95% of their fine feeder roots during excavation. These are the microscopic roots that absorb water and nutrients. Without them, the canopy can't survive.
Vancouver's dry summers make this worse. Metro Vancouver regularly goes 6–8 weeks with under 20mm of rainfall between June and August. A tree with a compromised root system can't keep up with canopy water demand during that stretch.
The other common failure? Moving a tree that was never going to survive the move. Mature Douglas firs and big-leaf maples don't transplant. They need to be properly assessed and removed.
Knowing which category your tree falls into before you start is everything. That assessment is where every successful transplant begins.
When Is the Best Time to Transplant a Tree in Vancouver?
Early fall or early spring. Those are your two windows.
**Early fall (mid-September to end of October)** is often the best choice in the Lower Mainland. Soil temperatures are still warm enough to support new root growth. Air temperatures have dropped. The tree is moving toward dormancy. Canopy stress is lower. Root regeneration can begin before the ground cools.
**Early spring (mid-February to mid-March)** is the second-best option. The tree is still dormant, but soils are warming. Abundant spring rainfall reduces how much supplemental irrigation you need in those first critical weeks post-move.
Avoid summer transplanting. The ISA's Best Management Practices for Transplanting make clear that moving trees during active growth — when transpiration demand is highest — significantly increases failure risk. In Pacific Coast climates like Metro Vancouver, classified USDA Zone 8b, the combination of summer drought and high evapotranspiration makes June through August the highest-risk window.
Avoid midwinter transplanting too. Root regeneration slows dramatically below 5°C soil temperature. Waterlogged soils make it near-impossible to prepare a proper root ball without destroying it.
What Is Root Pruning — And Why Does It Determine Success?
Root pruning is the step most homeowners skip. It's also the step that matters most.
When you sever a tree's outer roots, the tree responds by pushing out dense, fibrous new root growth closer to the trunk. By transplant day, that compact root mass sits inside the root ball you're going to extract. The tree has a far better chance of surviving the move.
The ISA recommends completing root pruning 6–12 months before the actual transplant for best results. For a tree in the 5–8cm caliper range, that means planning at least one full growing season ahead.
In our experience working with homeowners across North Vancouver and Burnaby, the transplants that fail are almost always the ones where root pruning was skipped entirely — or done the week before the move.
Root pruning is done with a sharp spade, a root pruning saw, or an air spade for precision work on larger trees. Cuts must be clean. Ragged cuts invite fungal entry. Pruning depth should match your target root ball depth.
One growing season of preparation separates a transplant that thrives from one that declines for two years and dies quietly.
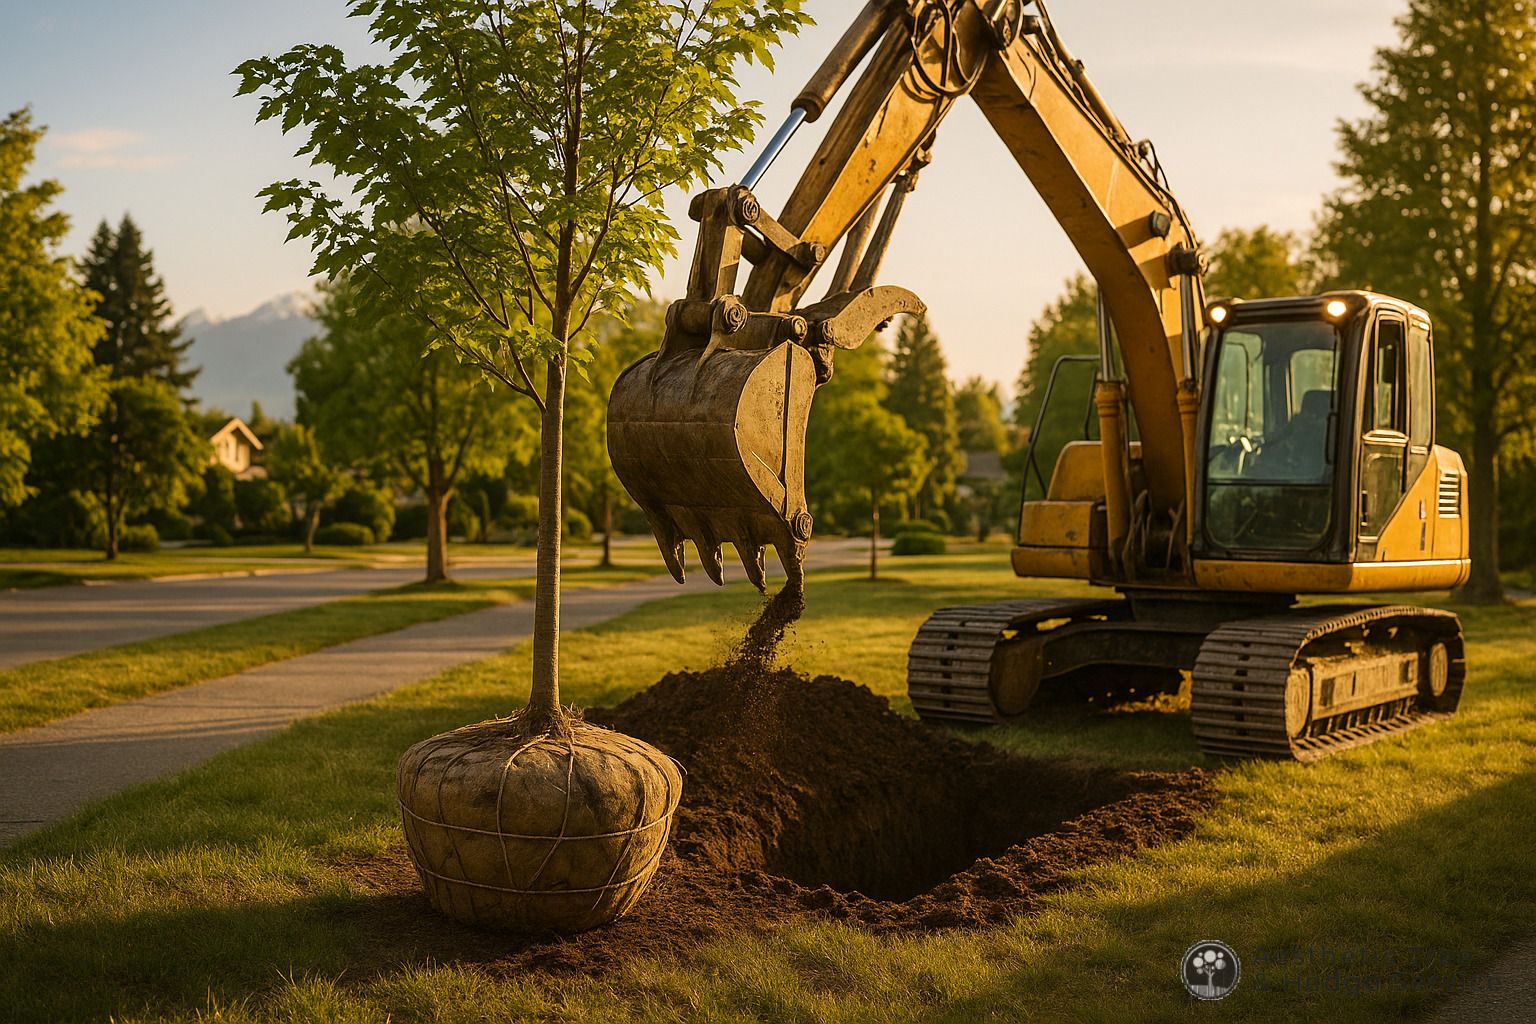
How Big Does the Root Ball Actually Need to Be?
This isn't guesswork. There's a published standard.
ANSI A300, Part 6 — the American National Standard for Tree Care Operations covering transplanting — specifies minimum root ball dimensions. For trees up to 4 inches (10cm) in caliper, the standard calls for a root ball diameter of 10–12 inches per inch of trunk diameter.
So a 5cm-caliper tree needs a root ball roughly 50–60cm across.
Go smaller and the math breaks down. The canopy demand outweighs what the remaining root mass can deliver. Leaf scorch sets in. Branch dieback follows. The tree declines.
If the tree is too large for a viable root ball — generally anything over 15–20cm caliper for most species — the transplant will almost certainly fail. The honest answer at that point is professional tree removal and starting fresh with a younger specimen. A young tree planted properly will outgrow a struggling transplant within 5 years.
The root ball also must stay intact during the move. A shattered ball destroys the feeder root connections you spent months building. Burlap wrapping, wire baskets, and solid containers all protect it. Moving a large root ball without proper containment is one of the most common — and irreversible — DIY mistakes.
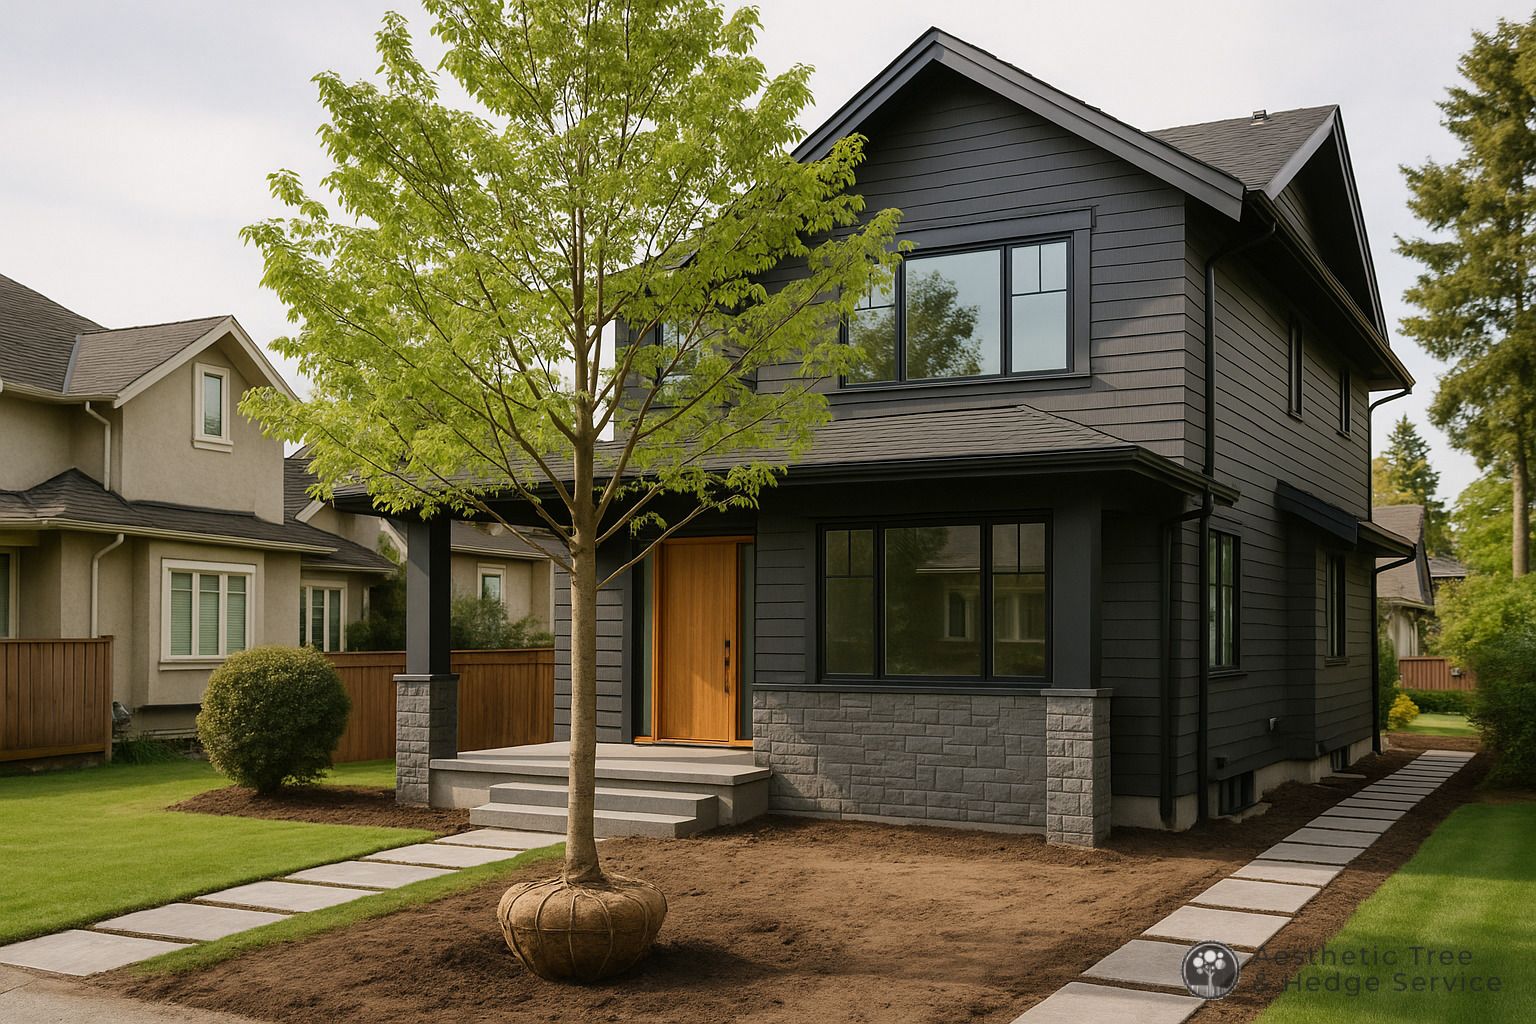
How Do You Prepare the New Planting Site?
The new site matters as much as the transplant itself. Get this wrong and the tree is set up to fail before it's even in the ground.
**Soil compatibility.** Test your target soil first. Vancouver soils vary significantly — from the loam-rich areas of East Van to the glacial till common across parts of North Vancouver. Moving a tree from sandy, well-drained soil into heavy clay creates drainage stress from day one.
**Planting depth.** This is the single most common DIY mistake. The root flare — the visible base where trunk transitions to roots — must sit at or slightly above grade. Burying the root flare causes bark deterioration, stem girdling roots, and multi-year slow decline. By the time it's obvious, it's usually too late.
**Hole size.** Dig the hole 2–3 times wider than the root ball, but no deeper than the root ball height. Wide and shallow encourages the lateral root spread the tree needs. Deep and narrow is a burial pit.
**Soil amendments.** In most cases, backfill with native soil. ISA research shows that backfilling with heavily amended soil creates a "container effect" — roots stay within the improved zone and don't extend into the surrounding native ground. Avoid over-amending.
**Drainage.** Pour a bucket of water into the hole. It should drain within an hour. If it doesn't, the site will stay waterlogged and the roots will suffocate. Roots need oxygen as much as water. Don't skip this test.
What Post-Transplant Watering Schedule Actually Works?
Deep and infrequent. Every time.
Shallow daily watering trains roots to stay near the surface. That's the opposite of what you want. You want roots going deep — into cooler, more stable soil that holds moisture through Vancouver's dry summer weeks.
**First two weeks:** Water every 2–3 days. Use a soaker hose around the drip line. Target the area from the trunk outward to just beyond the root ball edge. Let water penetrate slowly — 30–40 minutes per session beats a quick blast any day.
**First full season:** Water deeply once a week during dry periods. In Metro Vancouver, that typically means June through September.
**Second and third year:** Water during any extended dry stretch — 10 or more days without meaningful rainfall. By year 3, a well-established transplant should handle most Lower Mainland summers without intervention.
A simple moisture check: push a screwdriver 15cm into the soil near the root zone. It should slide in without force. If it meets resistance, the soil is too dry. If it comes out with wet soil sticking to it, wait.
Mulch is critical. Apply 7–10cm of wood chip mulch from 15cm away from the trunk out to the drip line. This retains moisture, moderates soil temperature, and outcompetes weeds. Never pile mulch against the bark — that causes rot and pest entry. Our mulching service is frequently scheduled as part of a full transplant package because the two go hand in hand.
Which Trees Transplant Well in Vancouver — And Which Don't?
Not all trees are equal candidates. Here's an honest species breakdown based on our field experience and ISA transplanting guidelines.
**Good transplant candidates:**
- Japanese maple (*Acer palmatum*) — responds well to root pruning; manageable size across most landscape settings
- Hornbeam (*Carpinus betulus*) — transplants reliably, even at larger sizes; excellent recovery
- Magnolia — best moved in spring before leafout; root system responds well to pre-pruning
- Ornamental cherry and plum — high success rate in the 5–10cm caliper range; common in Lower Mainland yards
- Holly (*Ilex* species) — tolerant of transplant stress; strong recovery
- Yew (*Taxus* species) — excellent post-transplant recovery when root-pruned 6 months in advance
**Poor transplant candidates:**
- Douglas fir (*Pseudotsuga menziesii*) — mature specimens almost never survive; root system too extensive and shallow
- Big-leaf maple (*Acer macrophyllum*) — not viable at mature size; younger specimens in the 3–5cm caliper range are possible
- Western red cedar (*Thuja plicata*) — root disruption causes severe stress; rarely a good candidate
- Garry oak (*Quercus garryana*) — slow to re-establish, high decline risk post-move
- Any tree with pre-existing root rot, stem girdling, or significant structural defects
Not sure whether your tree is a viable candidate? An arborist report gives you a professional assessment of root health, structural integrity, and species-specific transplant viability — before any roots are cut or any commitments are made.
Do You Need a Permit to Transplant a Tree in Vancouver?
Sometimes. It depends on tree size and location.
Under the City of Vancouver's **Street Tree Bylaw**, any work on a street tree — including transplanting — requires prior approval from the City's Urban Forestry team. You can't move or significantly alter a street tree without going through that process.
For trees on private property, Vancouver's **Private Tree Bylaw** protects trees above specific size thresholds on residential lots. Trees that meet or exceed those thresholds need a permit before they're removed or transplanted.
Other Lower Mainland municipalities have their own rules:
- **Burnaby** requires permits for trees over 15cm DBH under its Tree Bylaw
- **City of North Vancouver** and **District of North Vancouver** both protect significant trees on private and public property
- **Richmond** has a Tree Protection Bylaw covering trees over 10cm DBH
- **Coquitlam** has its own tree cutting permit requirements tied to diameter and lot zoning
Failing to get the required permit can result in fines. If the city inspects and determines the work was done without authorization or improperly, the liability is yours.
Our ISA-certified team knows these bylaws cold. We handle permit applications as part of our service, so you don't have to navigate municipal bureaucracy on top of managing the transplant itself.
Should You DIY a Tree Transplant or Call a Professional?
It comes down to size.
Trees under 3cm caliper — a young Japanese maple, a newly planted ornamental — are manageable for a careful homeowner. The root ball is light. The error window is wider. A prepared DIYer can succeed.
For anything over 5cm caliper, call a professional. The root ball on a 7cm-caliper tree weighs 500–800kg. You need equipment. You need a team. And you need the technical judgment to assess root health, prepare the site correctly, and protect the ball during the move.
Mistakes made during the dig are irreversible. You can't reassemble a shattered root ball. You can't fix a root flare buried 20cm below grade after the tree has been planted. Roots that dry out for 45 minutes while you struggle to manoeuvre the tree into position are already dead.
Our tree planting service covers transplant consultation and hands-on work for trees of all sizes across Metro Vancouver. If a tree turns out not to be a viable transplant candidate, we can assist with tree cutting and help identify the right replacement species for the site conditions.
What About Root Barriers — Do Transplanted Trees Need Them?
If the transplant site is near a driveway, foundation, or underground utilities, yes — install a root barrier now.
Transplanted trees, once established, push root systems outward in all directions. In our work across Vancouver and Burnaby, we've seen transplanted trees cause significant damage to driveways and sewer laterals within 10–15 years of establishment. Installing a root barrier at transplant time costs a fraction of repairing a lifted concrete slab or a blocked sewer line.
If your planned transplant site falls within 3 metres of hard surfaces, underground utilities, or your foundation, discuss root barrier options before the first spade goes in the ground. It's a simple decision at the start. It's an expensive problem later.

How Long Before a Transplanted Tree Is Fully Established?
The standard arboricultural rule: one year of establishment per centimetre of trunk caliper.
A 5cm-caliper tree takes roughly 5 years to rebuild a root system comparable to what it had before the move. A 10cm-caliper tree takes closer to 10 years.
During that period, the tree is more vulnerable. Drought, frost, pests, disease, and physical damage all hit harder when the root system is still rebuilding.
The City of Vancouver's Urban Forest Strategy identifies newly transplanted and planted trees as the highest-priority category for urban forestry maintenance — because the first few years determine whether the investment survives or is lost entirely.
Post-transplant monitoring matters. An ISA-certified arborist can catch early stress signals — canopy dieback, premature fall colour, fungal growth at the root flare — before they become fatal. An annual check in years one through three is a small cost compared to losing a tree you waited months to establish.
---
Don't guess on a tree transplant. One wrong move can kill a tree that took decades to grow.
Call Aesthetic Tree & Hedge Services for a free assessment. Our ISA-certified, WCB-registered team serves Vancouver, Burnaby, North Vancouver, Richmond, Coquitlam, and the Lower Mainland.
**Call (604) 721-7370 for your free estimate.**
We assess the tree, check permit requirements, and give you a clear plan — before a single root is cut.
FAQ
**What is the best season for tree transplanting in Metro Vancouver?**
Early fall (mid-September to October) is generally the best window. Soils are still warm enough for root regeneration, air temperatures have dropped, and the tree is heading into dormancy with reduced canopy stress. Early spring (February to mid-March) is a close second — the tree is dormant, soils are warming, and natural rainfall reduces irrigation demand in the critical first weeks.
**How much does professional tree transplanting typically cost in Vancouver?**
According to industry surveys compiled by the BC Landscape & Nursery Association, professional tree transplanting in Metro Vancouver typically ranges from $800 to $5,000 or more depending on tree size, site access, and move distance. Larger caliper trees requiring crane or specialized equipment fall at the higher end of that range. These figures represent industry averages based on market data. Actual costs vary by project scope, site conditions, and species. Contact Aesthetic Tree & Hedge Services for a personalized assessment.
**How do you prevent transplant shock after moving a tree?**
Three factors matter most: keeping the root ball completely intact and moist from excavation to replanting; planting at the correct depth with the root flare at or slightly above grade; and watering deeply on a consistent schedule for the first two growing seasons. Reducing canopy by 20–30% at transplant time also lowers water demand on the stressed root system. Our team performs this crown reduction as a standard part of the transplant process.
**Should you fertilize a tree right after transplanting?**
No. Fertilizing a fresh transplant stimulates shoot and leaf growth at the expense of root regeneration. The tree needs to direct energy underground first. Hold off on any nitrogen-based fertilizer for the first full growing season. After year one, a slow-release fertilizer applied in early spring can support continued establishment. A soil test first tells you what your specific site actually needs — not every Vancouver soil is deficient in the same way.
**What happens if you transplant a tree that's too large to move safely?**
The tree declines over 2–4 years and eventually dies. The signs are gradual: reduced leaf size, early fall colour, progressive dieback from branch tips inward. By the time the decline is obvious, recovery is unlikely. If you're working with a tree that's borderline too large to transplant, an ISA-certified arborist assessment — including a root health evaluation — is essential before committing to the move. Sometimes the right answer is starting fresh with a younger tree that will establish cleanly.
Before You Go
Where are you in your tree care journey?
Our Tree Care Services
ISA-certified arborists serving Greater Vancouver

Explore Our Tree Care Services
From expert pruning to safe tree removal, our ISA-certified arborists are ready to help across Greater Vancouver.
View Services